

Fly your flag for the Fourth and all year with this fun project
June 21, 2018
(BPT) – The Fourth of July is fast approaching and you have yet to find the flag you’ll display for the parades that pass your home or the cookouts you’ll host. However, you don’t need to go out and buy one. You can make one instead, and it’s easier than you think.
Just follow the step-by-step guide presented below and your flag will flourish in no time.
Step 1: Assemble your tools
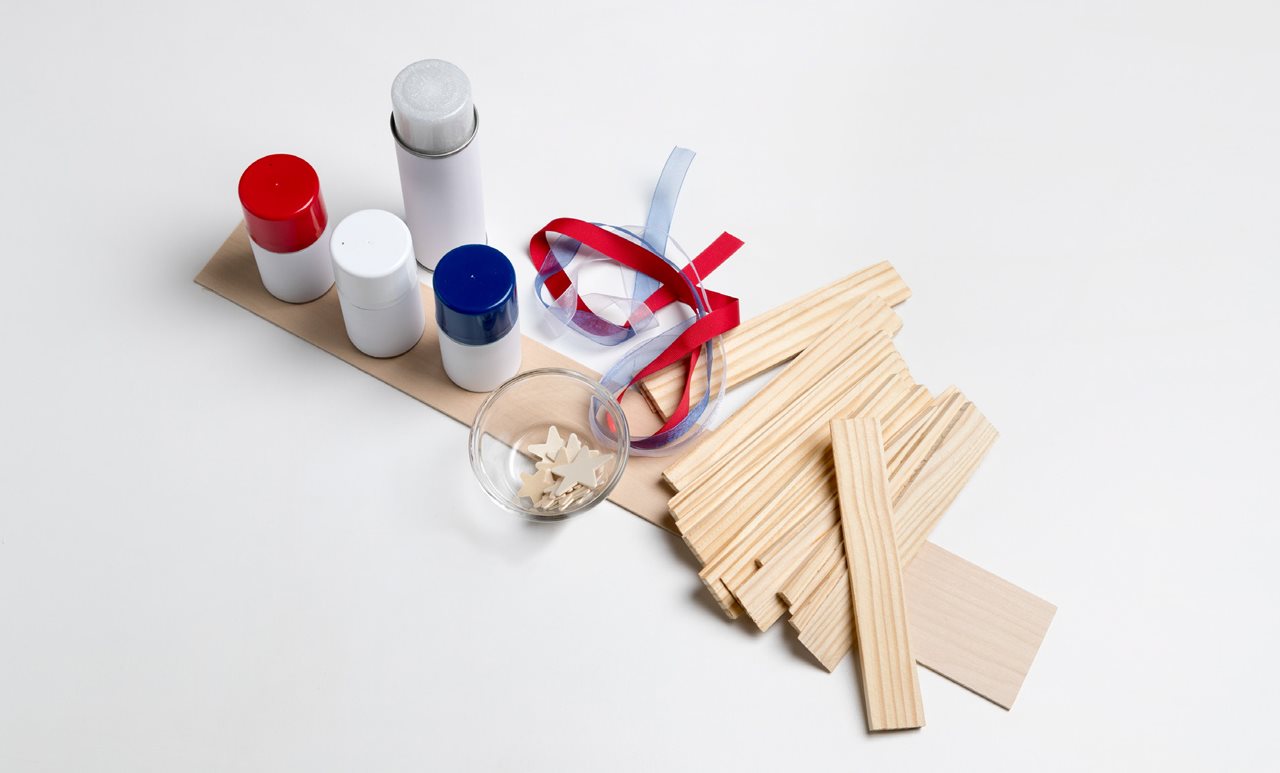
Creating your own flag is easy if you have the right tools. For this project you’ll need an Arrow Fastener T50 Heavy Duty Staple Gun and staples (3/8”). You’ll also need an MT300 Mini Glue Gun and mini glue sticks (4” x 5/16”). Finally, you’ll need: a ruler, pencil, scissors, utility knife, 18 wood shims, 1 piece of basswood, 13 wood stars and red/white/blue ribbon and paint.
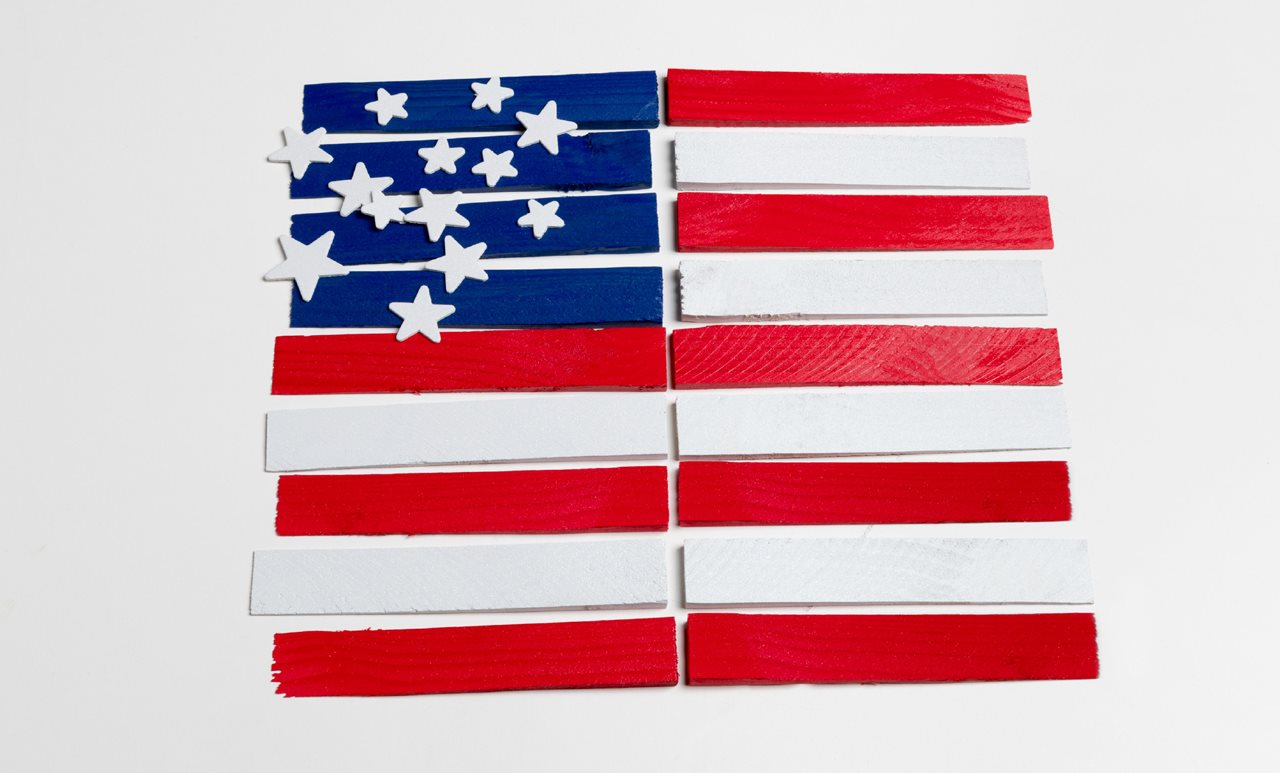
Step 2: Paint the shims
Before you lay your shims out in that familiar flag pattern, you’ll need to add a touch of paint. Paint four shims blue, eight red and six white. Next, paint the 13 wood stars white. Add additional coats if you need to and paint the white portions with a layer of clear sparkle if you want to give them a little extra pop.
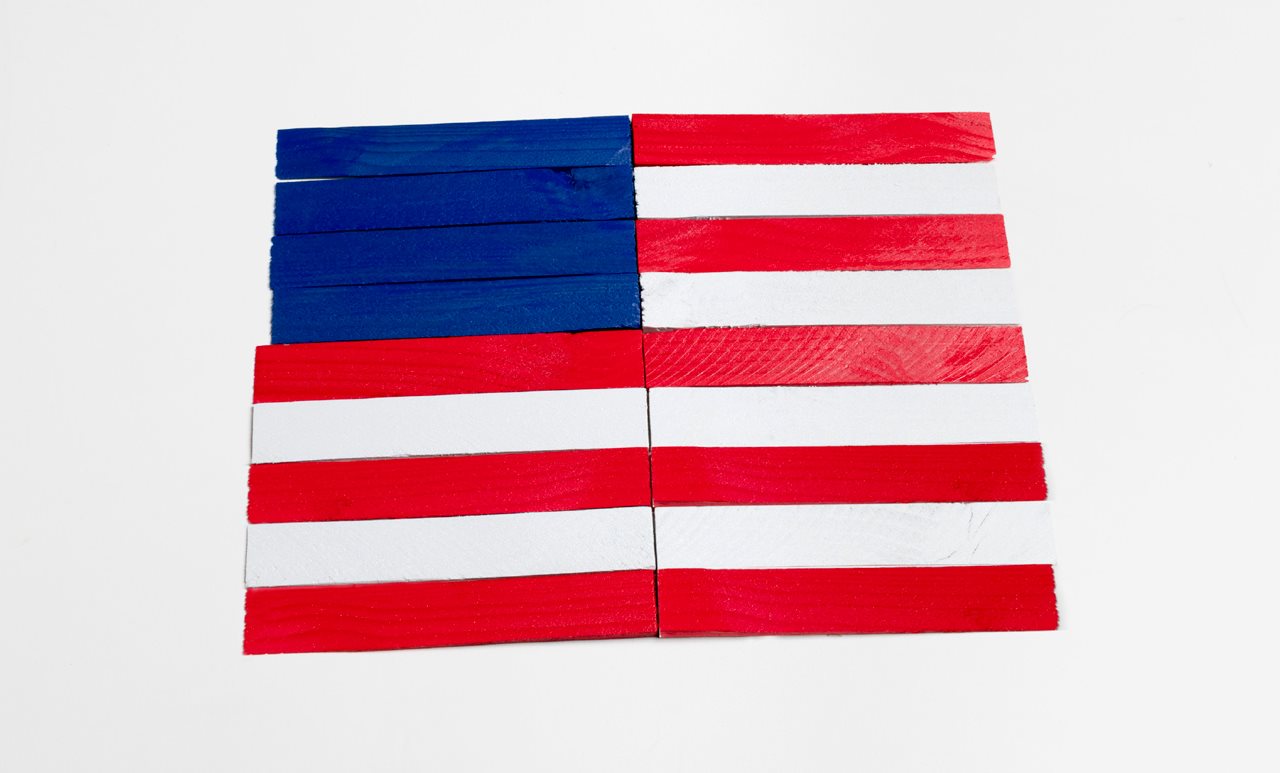
Step 3: The flag takes shape
Once the shims have completely dried, arrange them in the shape of the flag. Be sure to have all the thick ends of the shims facing the center of the flag and then set it aside.
Step 4: Prepare the base of basswood
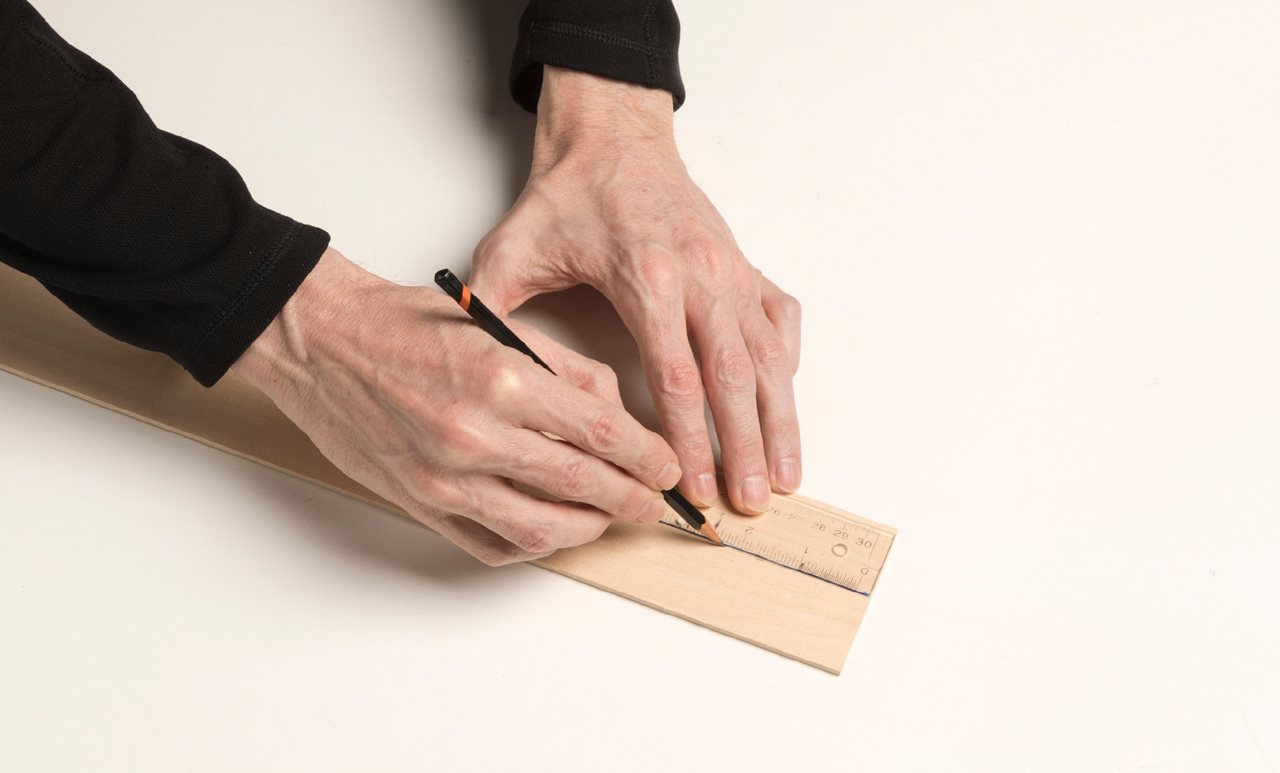
Take the piece of basswood and draw a line straight down the center with the pencil, using the ruler. This line will assist you when attaching to the back of the wood shims.
Step 5: Secure the basswood
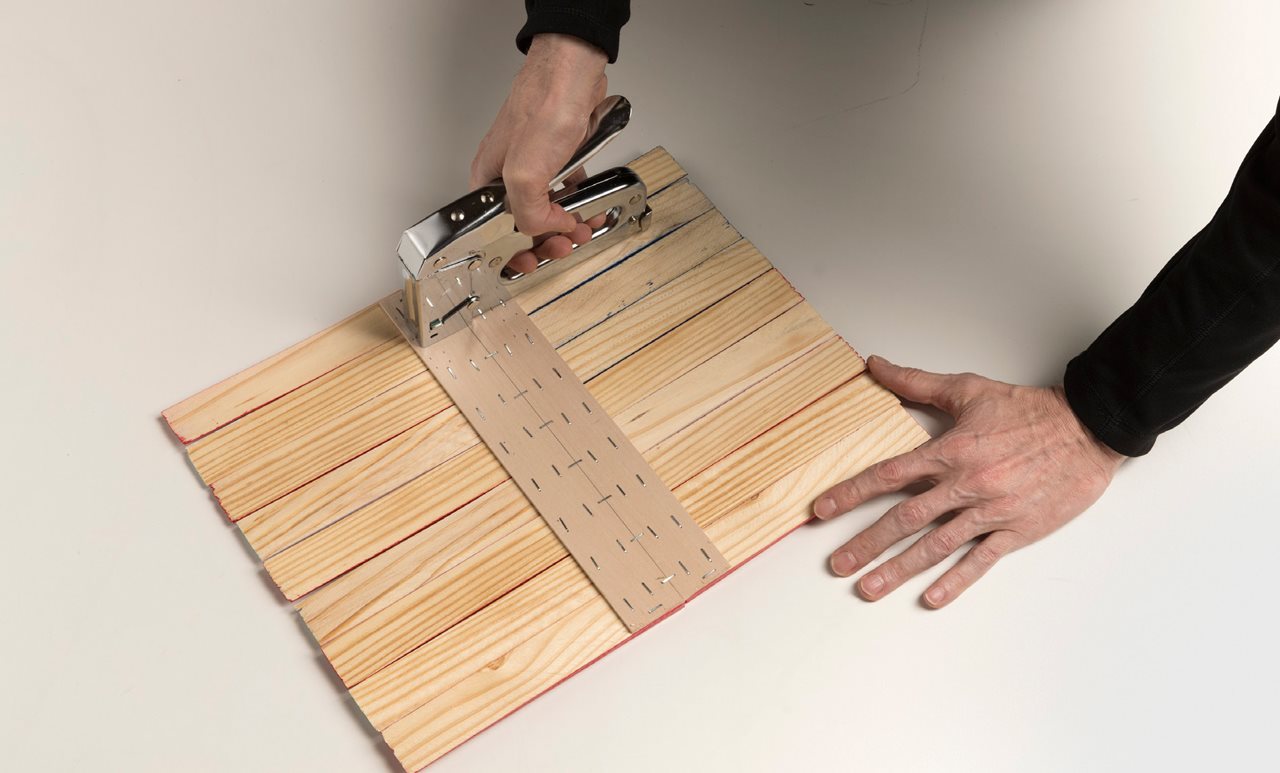
Flip the wood shims over so the back side is facing up. Place the basswood on top of them. Use the line you drew in the previous step to line up the basswood with the center of the wood shims. If you want a hanging flag, cut the basswood to 12”. For a staked flag, place the basswood flush at the top of the flag and leave the remaining basswood extended beyond the bottom of the flag. Once you’re satisfied, secure the basswood to the wood shims using the Arrow T50 Heavy Duty Staple Gun and 3/8” staples.
Step 6: Finalize the back of your flag
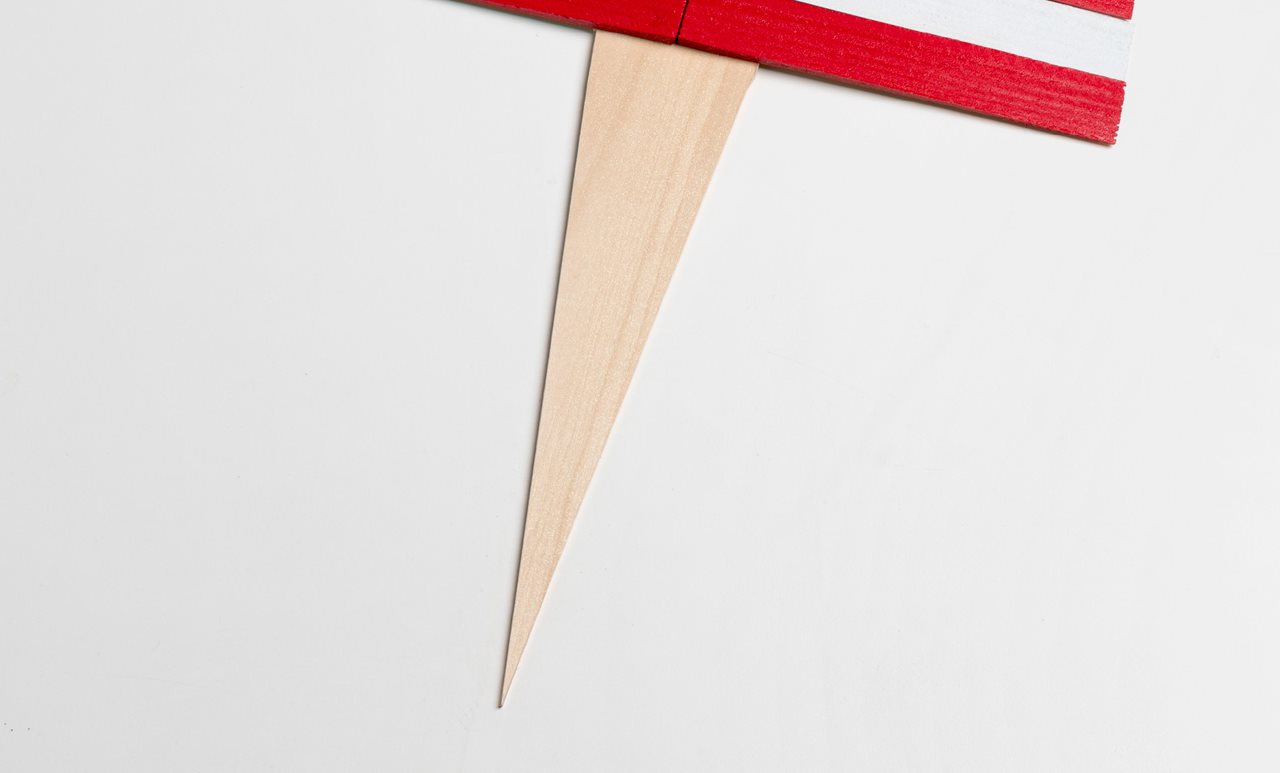
If you choose to make a hanging flag, you can now cut the ribbon and staple it to the back of the flag. For a staked flag, trim the sides of basswood at an angle to create a spike. You may paint this to blend in with your landscaping if you want.
Step 7: Finishing the flag
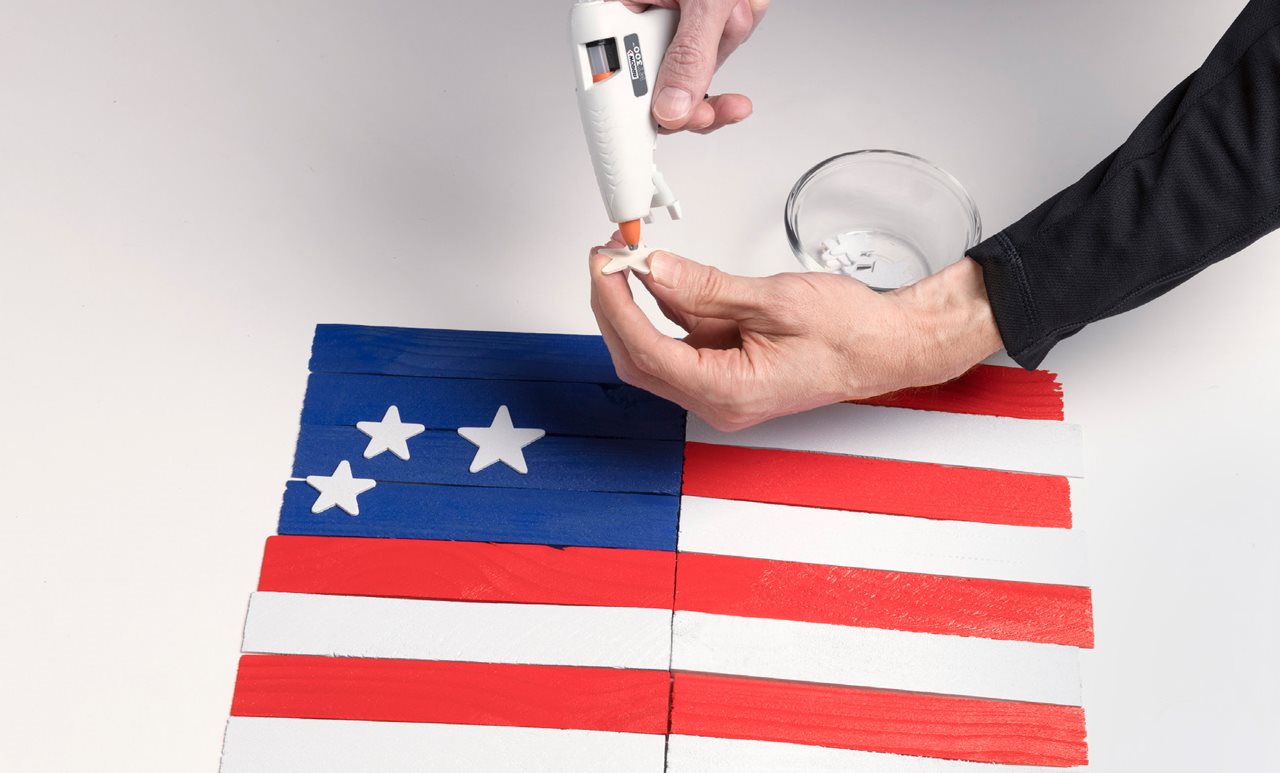
Now it’s time to flip the flag over and secure the stars in the blue section using the Arrow MT300 Glue Gun.
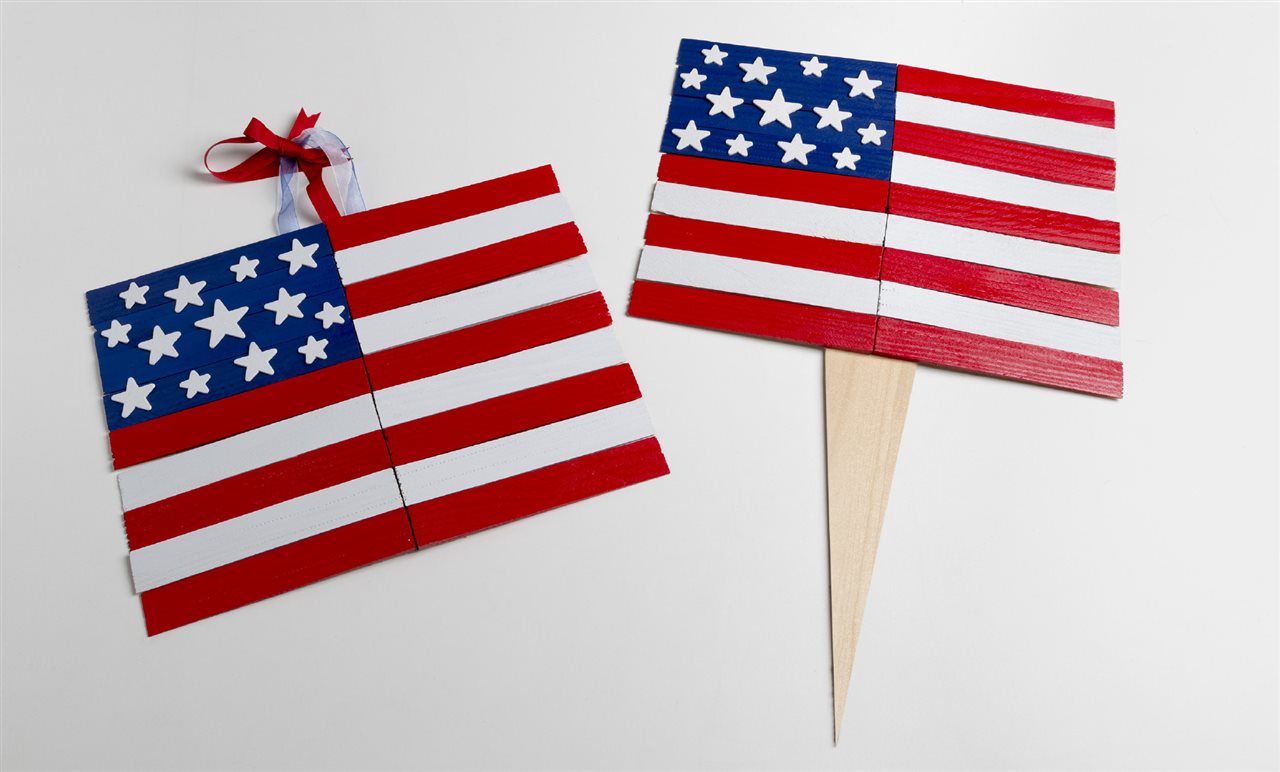
Step 8: Display time
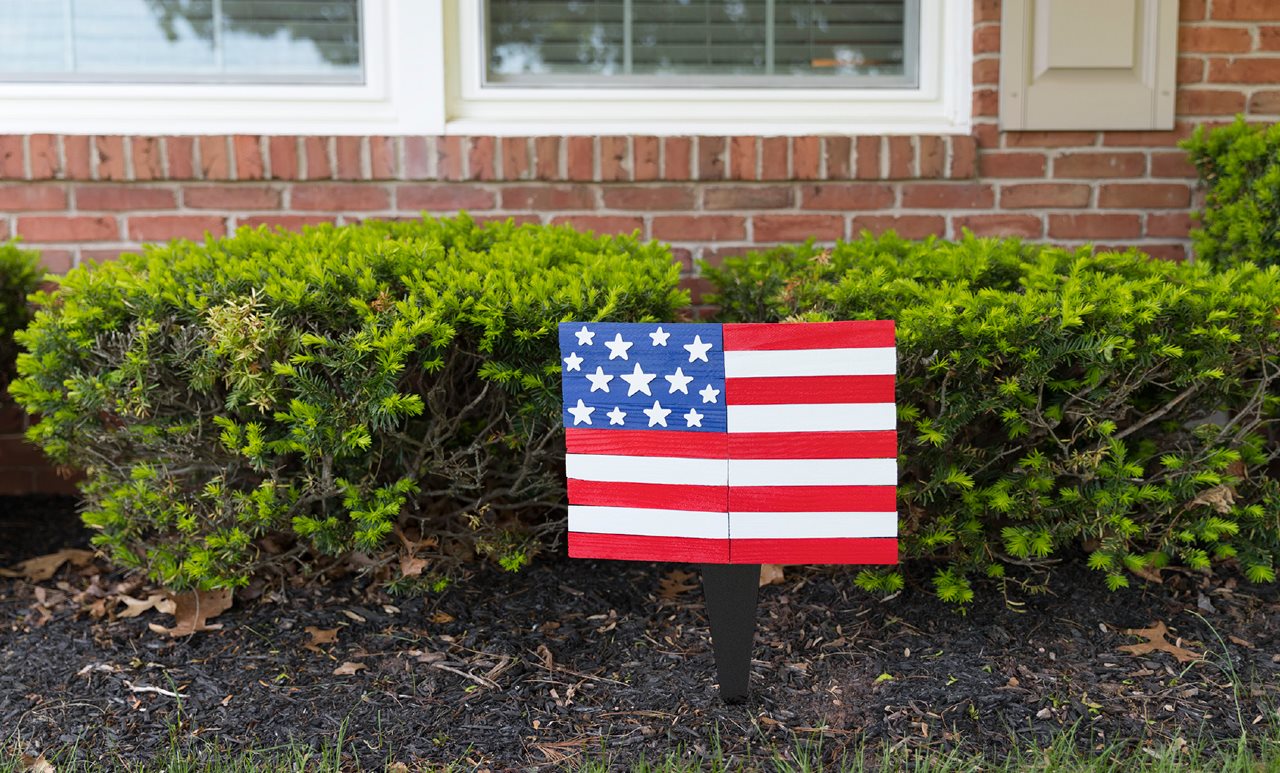
Now you’re ready to display your flag. Hang it from a wall or your front door, or place it in your garden bed or a flower pot. Let it fly for the Fourth of July, and you may just decide to keep it up all year long.